Back to Don's Maps
Line drawings - using Photoshop to clean up photographs of line drawings
I often need to clean up line drawings of artefacts and sketches - the originals are typically from pdf files, and of poor quality. This method using Photoshop allows me to make much better images than the originals, especially when combined with first making the drawings a lot larger.
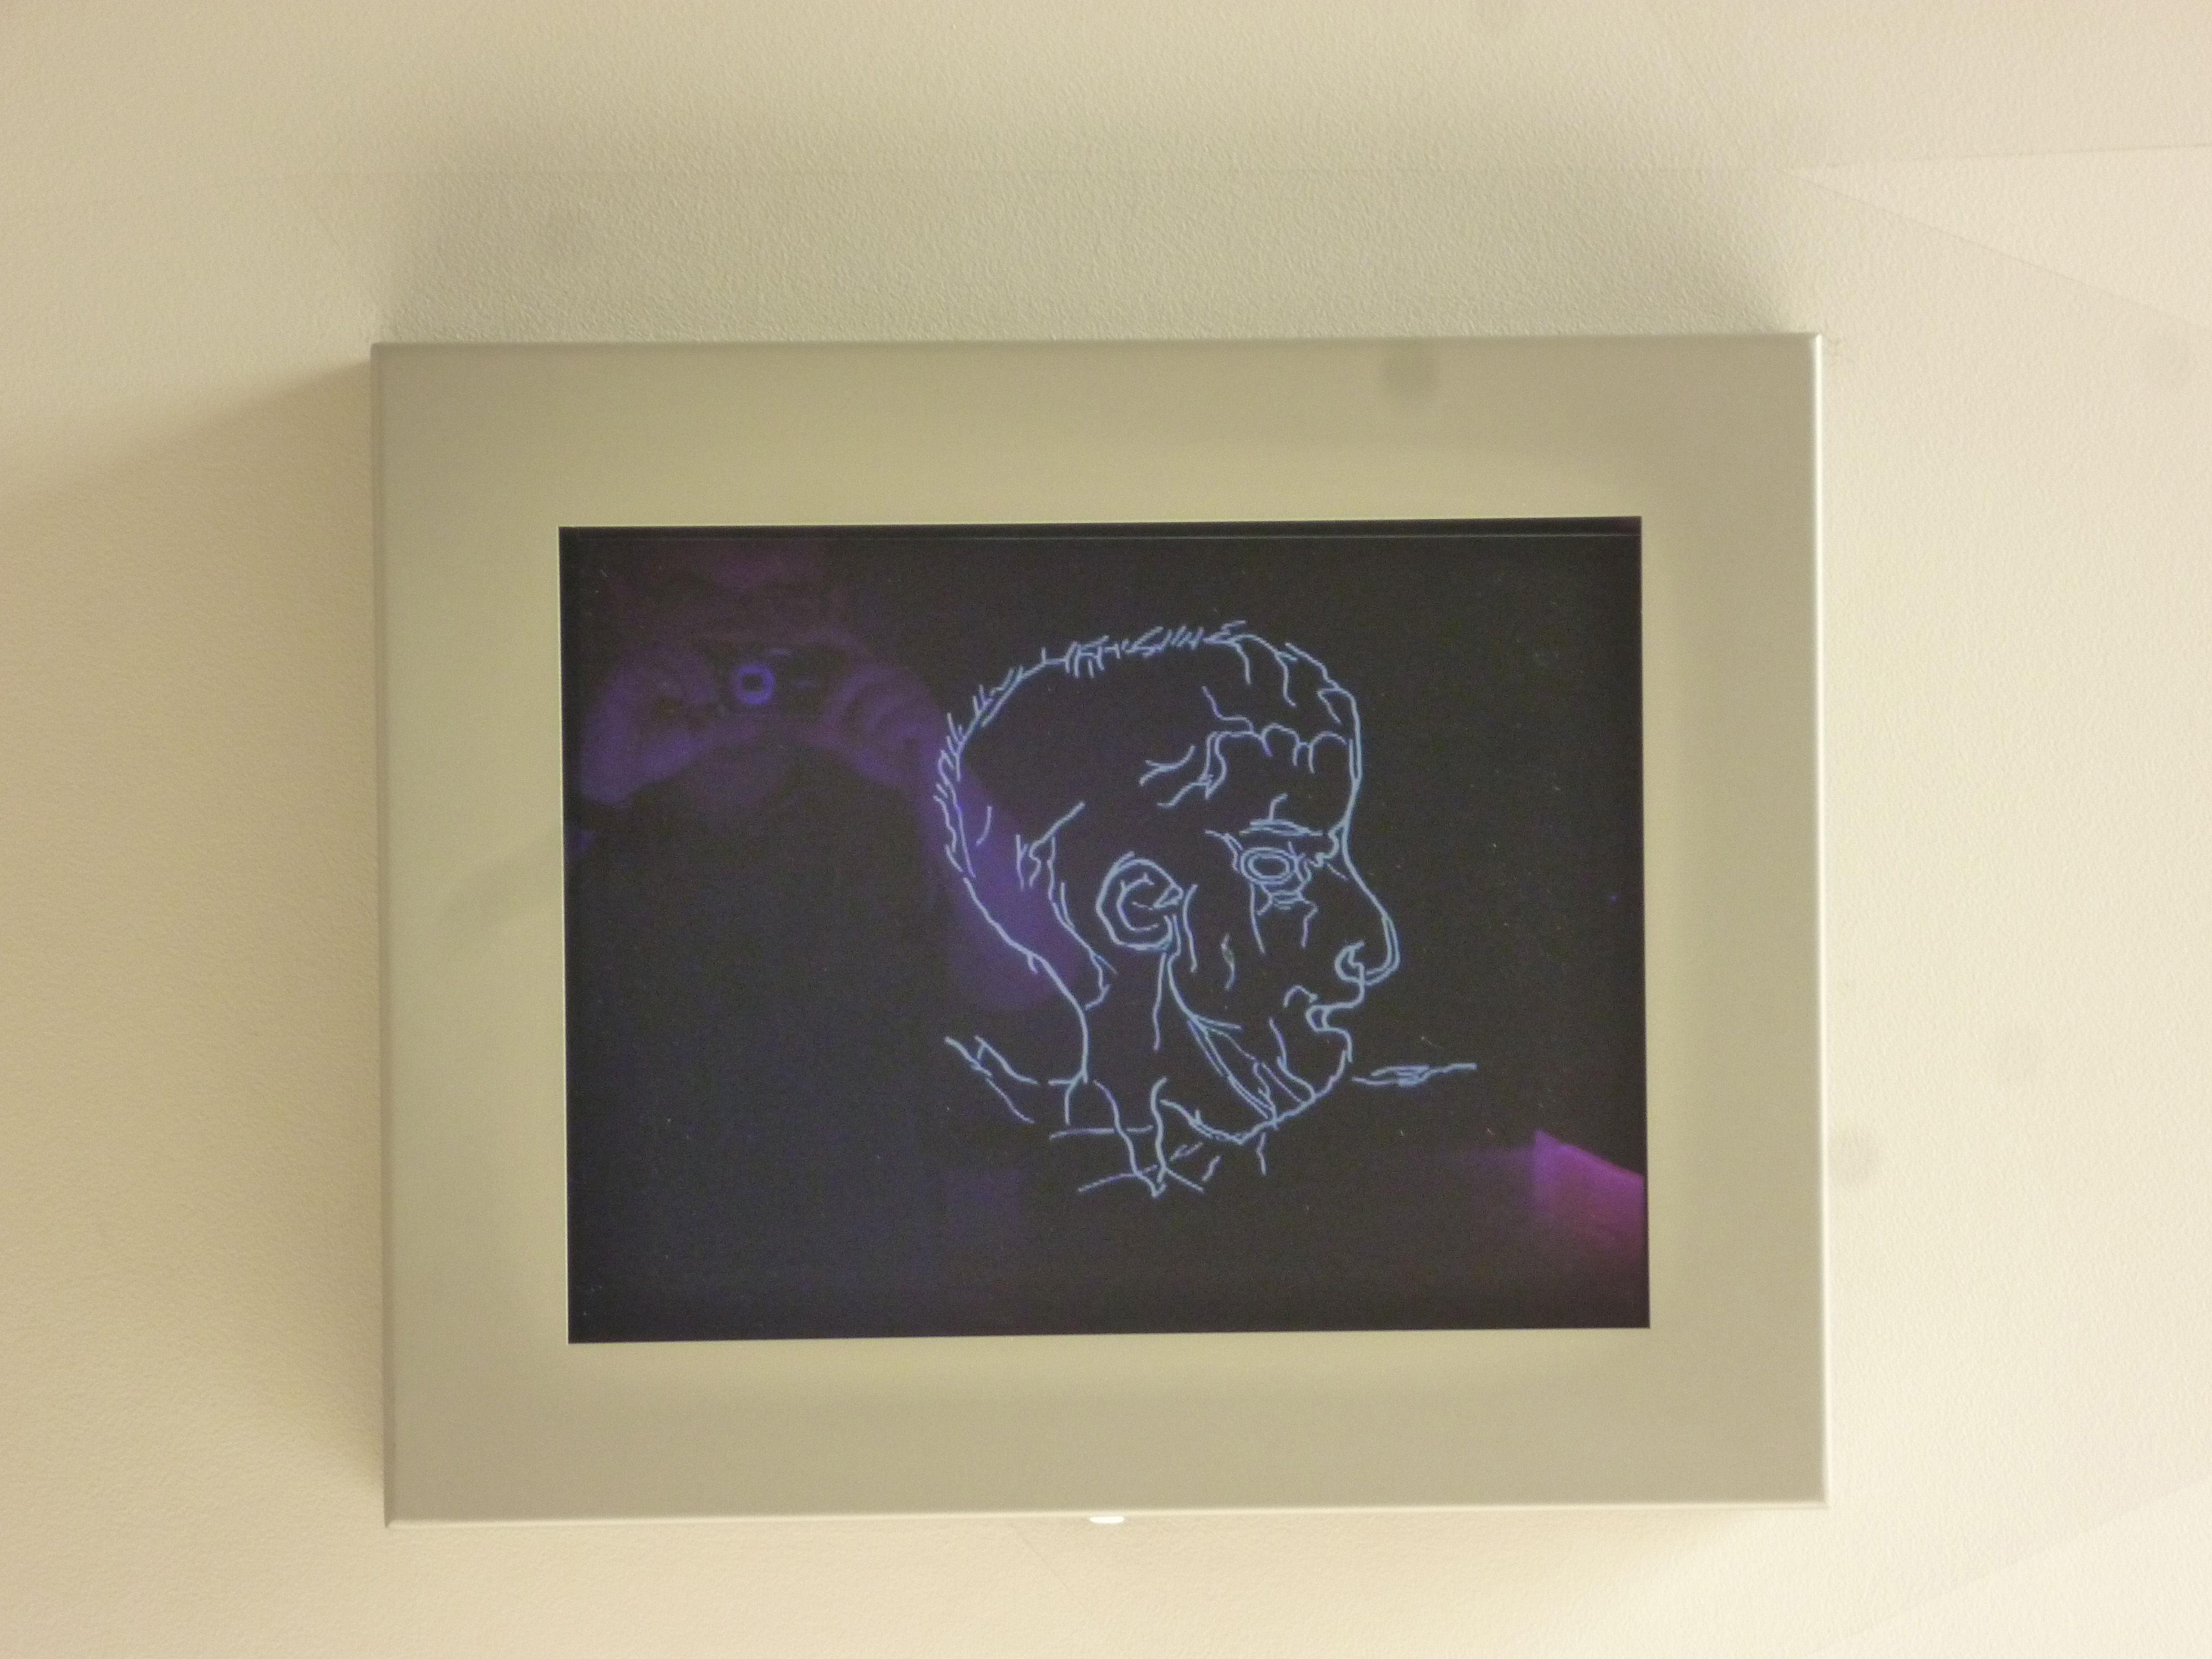
We start with the original photo, taken in a museum. The line drawings here happen to be in inverse, white on black, and are behind glass, as is normal, with reflections, as is also normal.
Photo: Ralph Frenken 2015
Source: Musee-de-Prehistoire-Grottes-de-la-Marche-et-des-Fadets
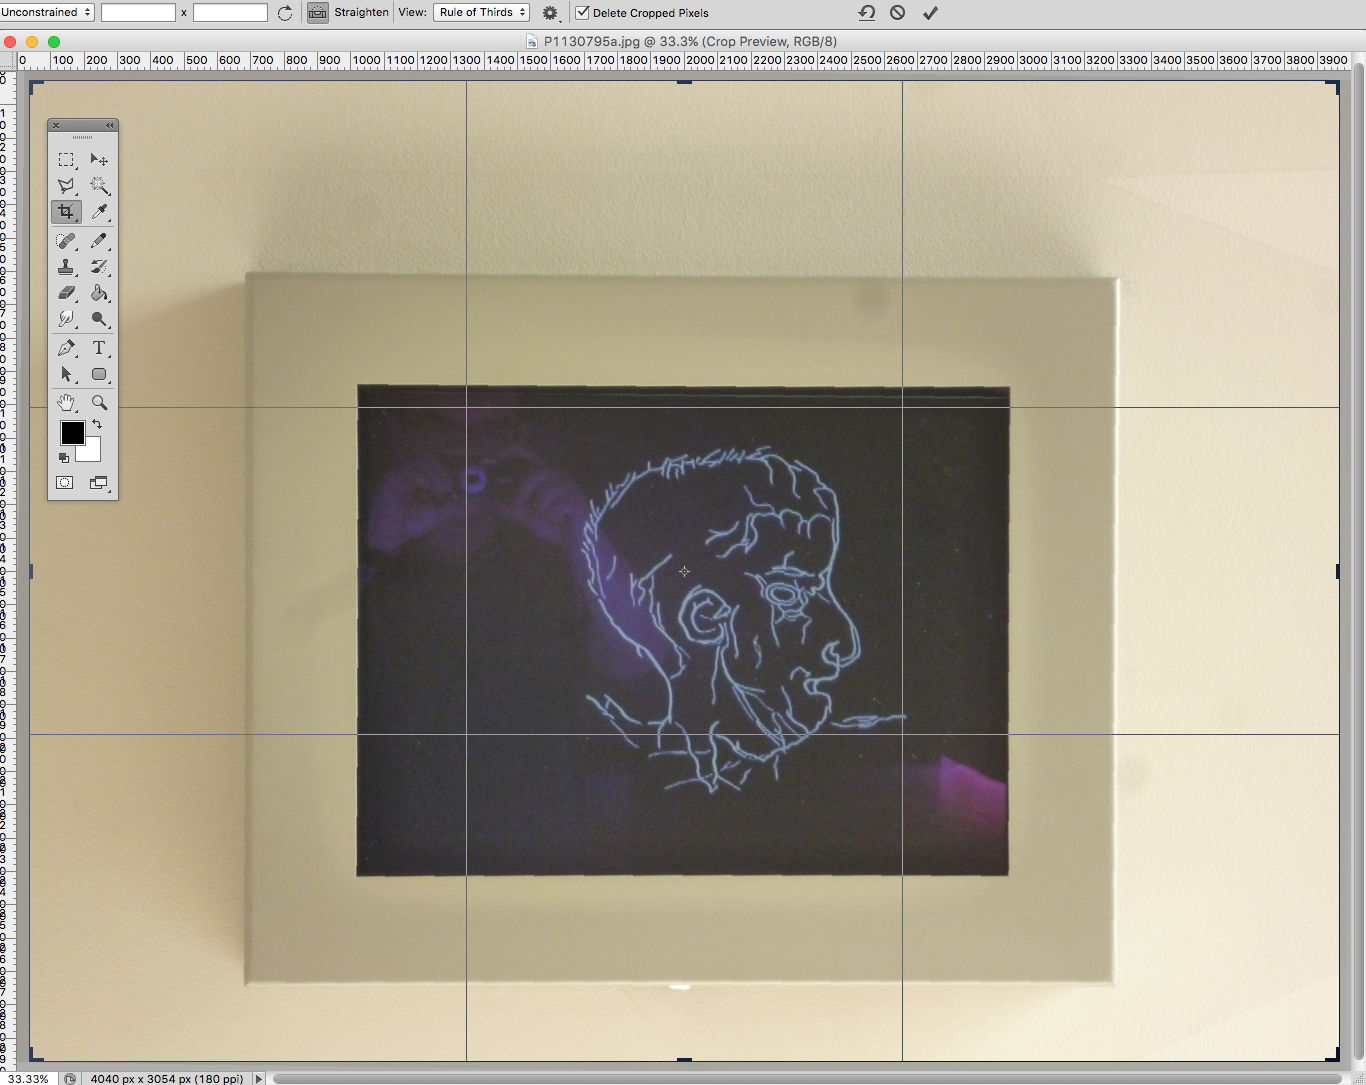
The first step is to straighten the image. Click on the crop tool in the tool box, and a 'straighten' icon appears on the menu above the photo. Click on this 'straighten' icon, and drag the cross hairs across the photo on a line you wish to have horizontal or vertical.
You can enlarge the cropped area by dragging the handles now if you wish.
Double click to confirm, and for the image to be cropped.

Crop the image to the size you need.
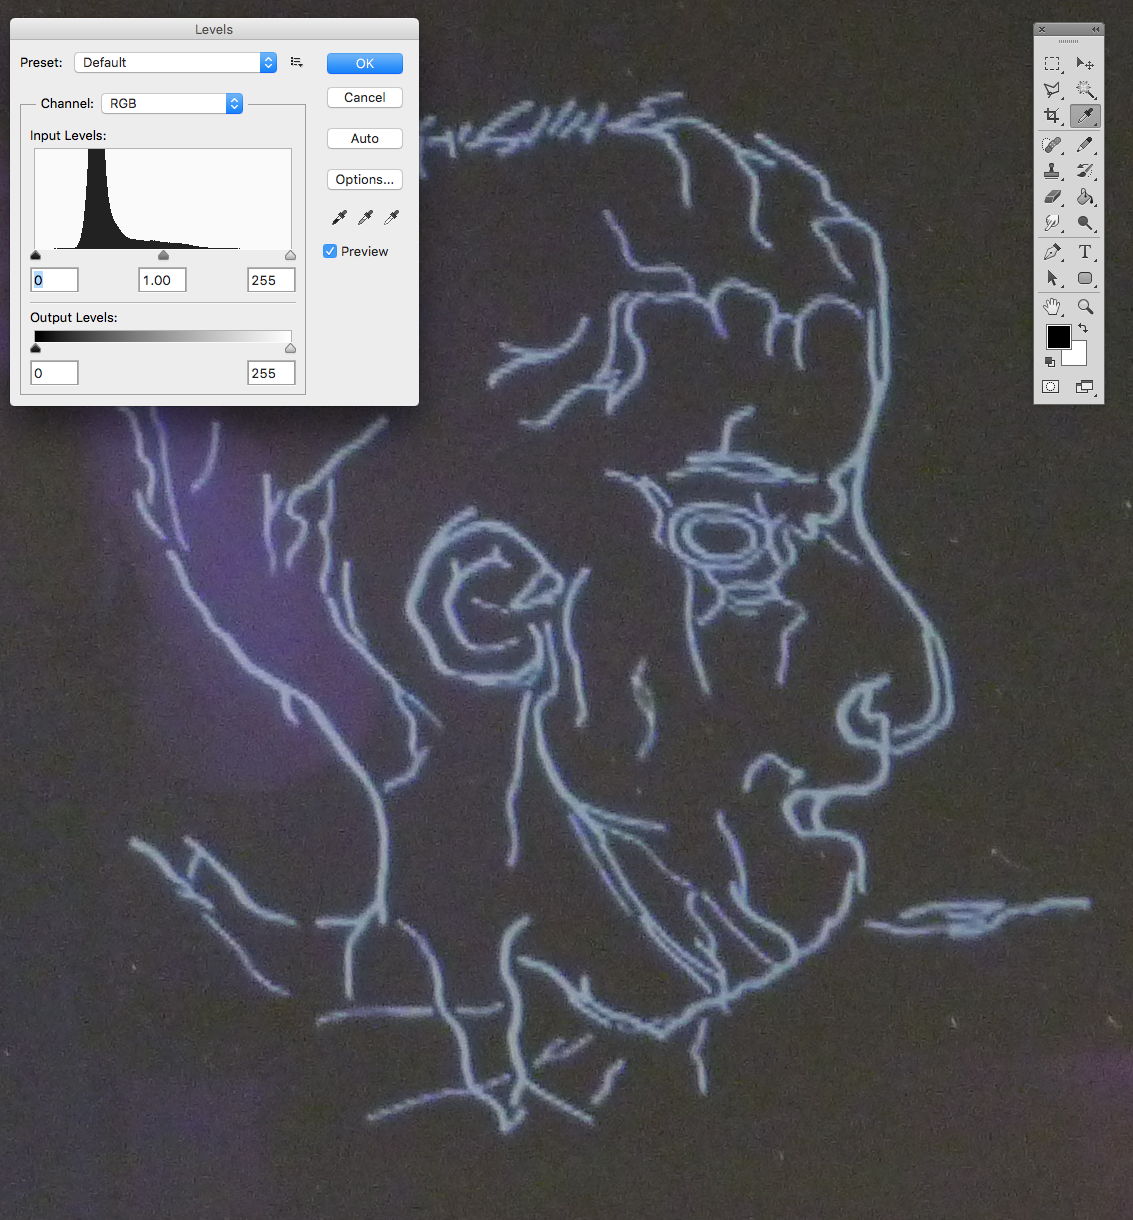
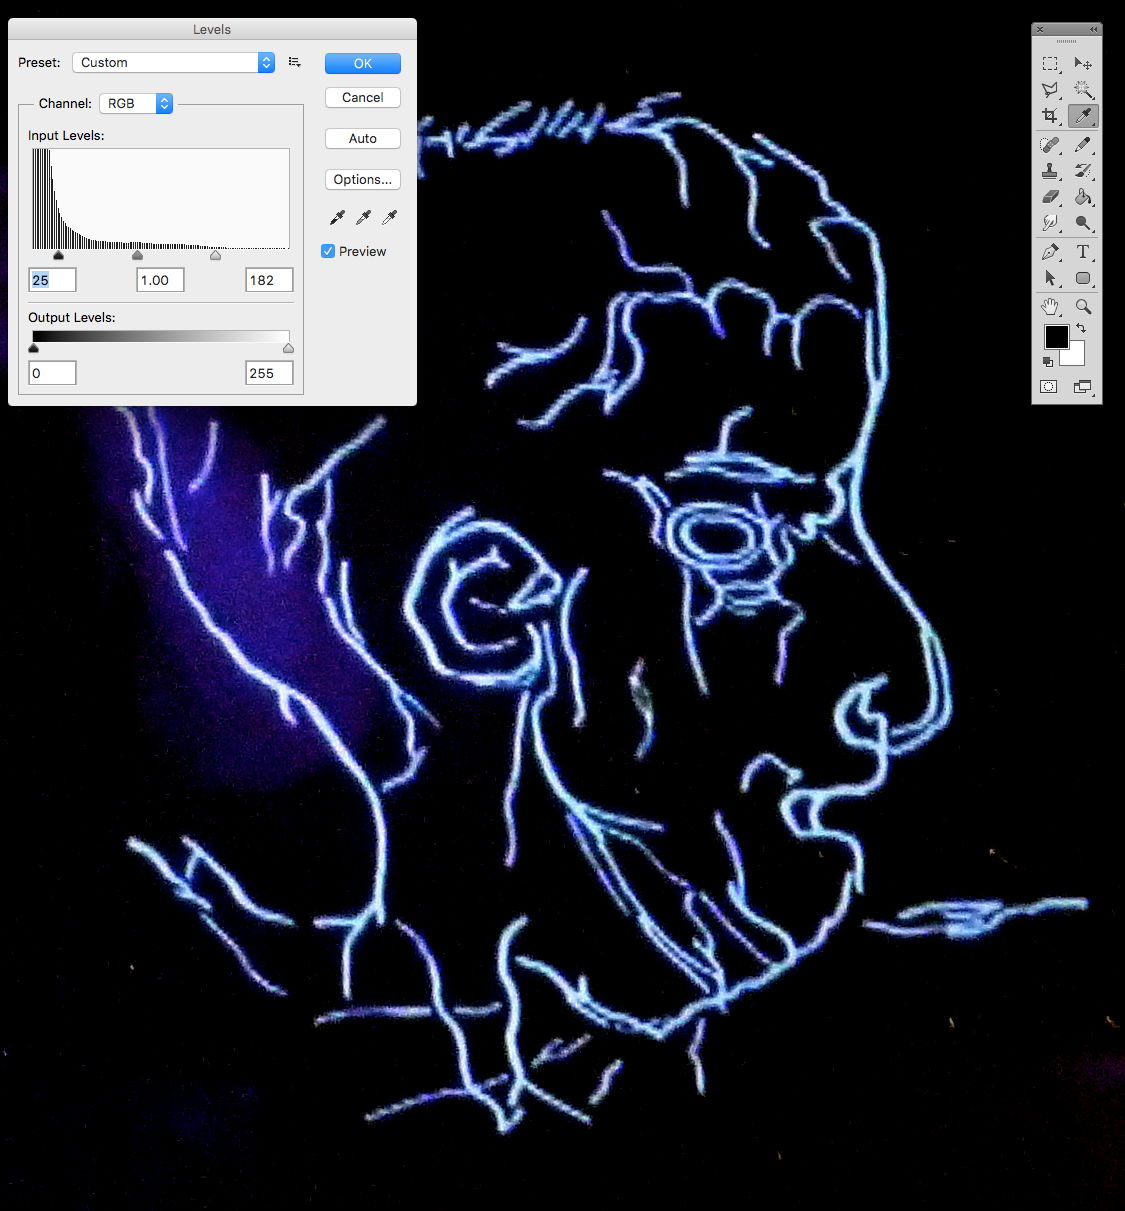
Open levels, command L on the mac. Otherwise use the drop down menus:
Image...Adjustments...Levels.
This graph appears.
You will be moving the outer two arrows below the graph to alter the image, darkening the dark areas to black, and lightening the light areas to white, as much as possible.
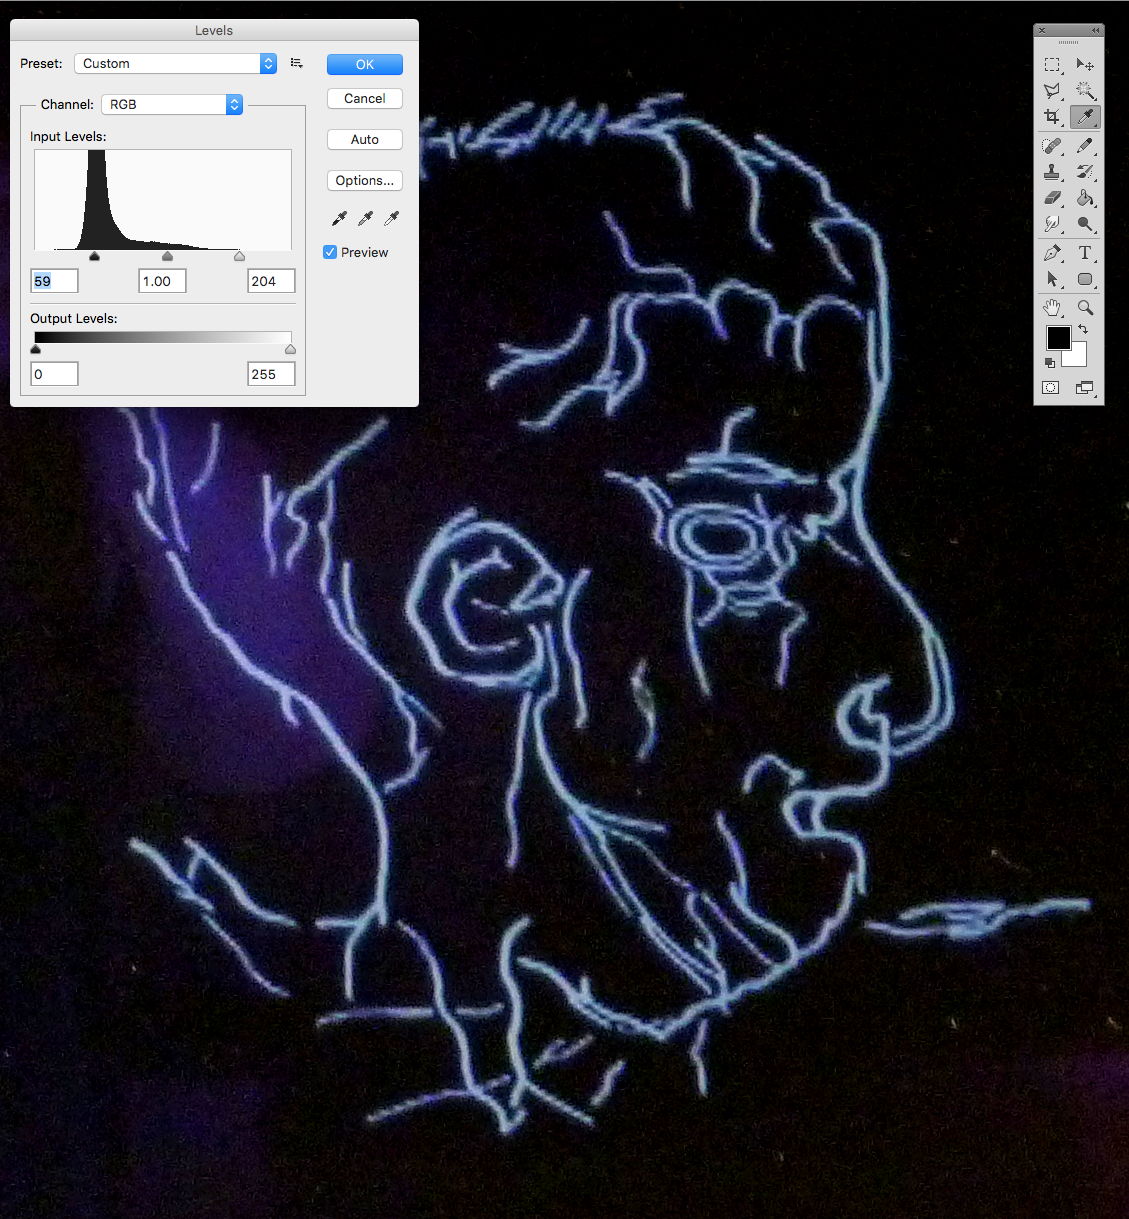
Move the two outer arrows until you get close to the desired effect. Press OK.
You can repeat this process a number of times, getting closer to what you want.
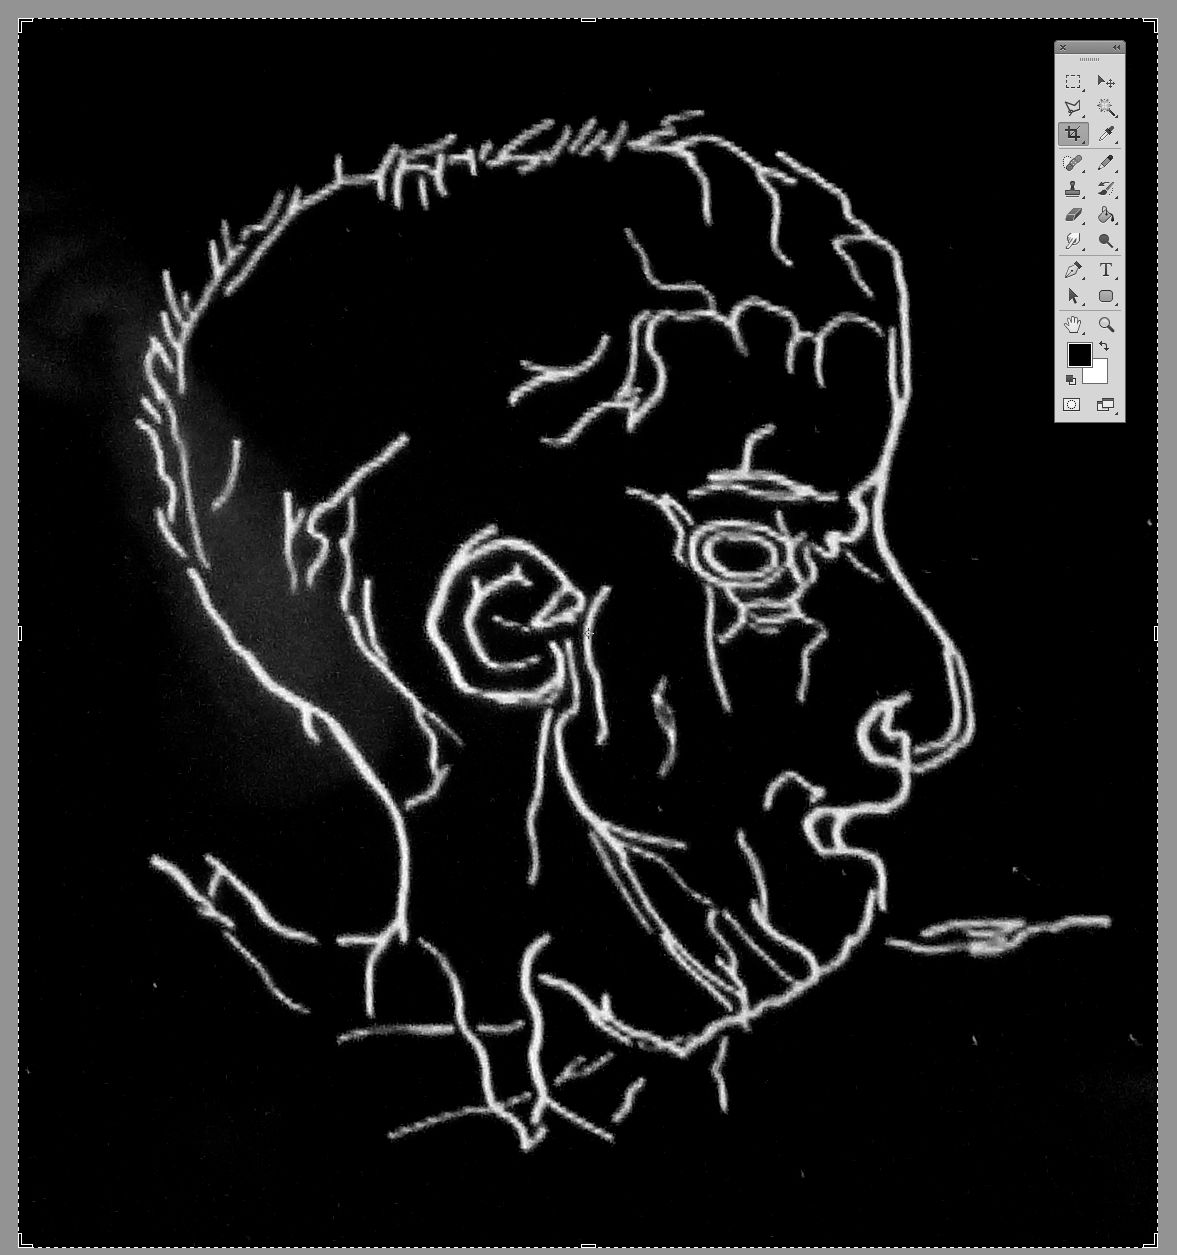
Change to greyscale, using the series of dropdown menus:
Image...Mode...Grayscale
Once again you can move the arrows on the levels screen to get a better image.
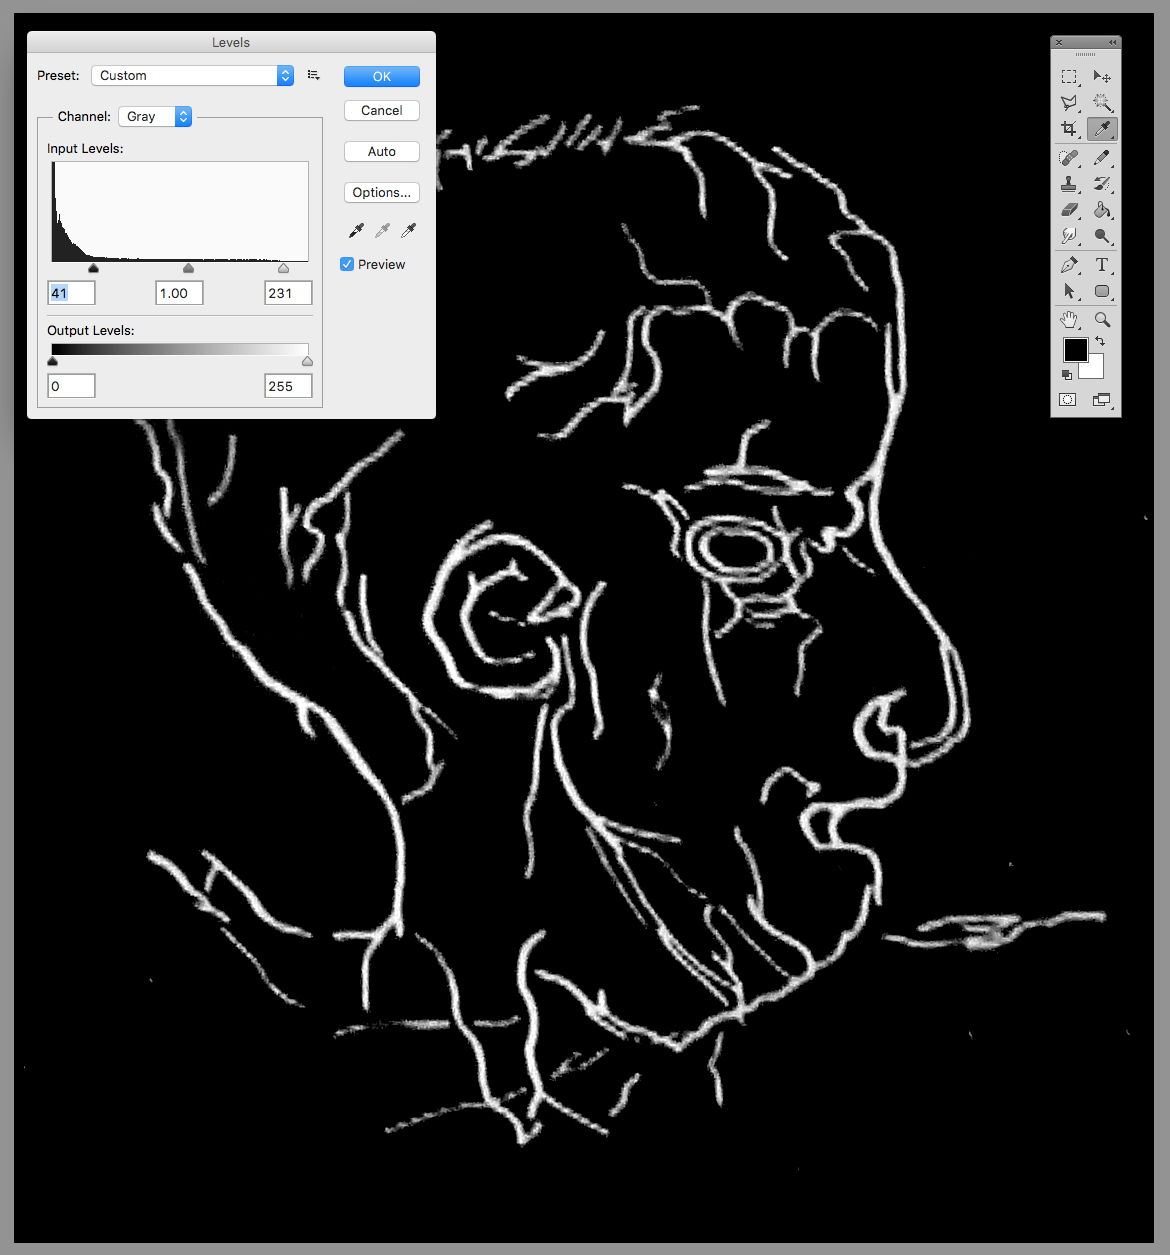
Invert the image if necessary, using either Command I, or Image...Adjustments...Invert.
We are getting closer to the desired result, but in this case the lines are a bit fuzzy, and need to be more solid and darker.
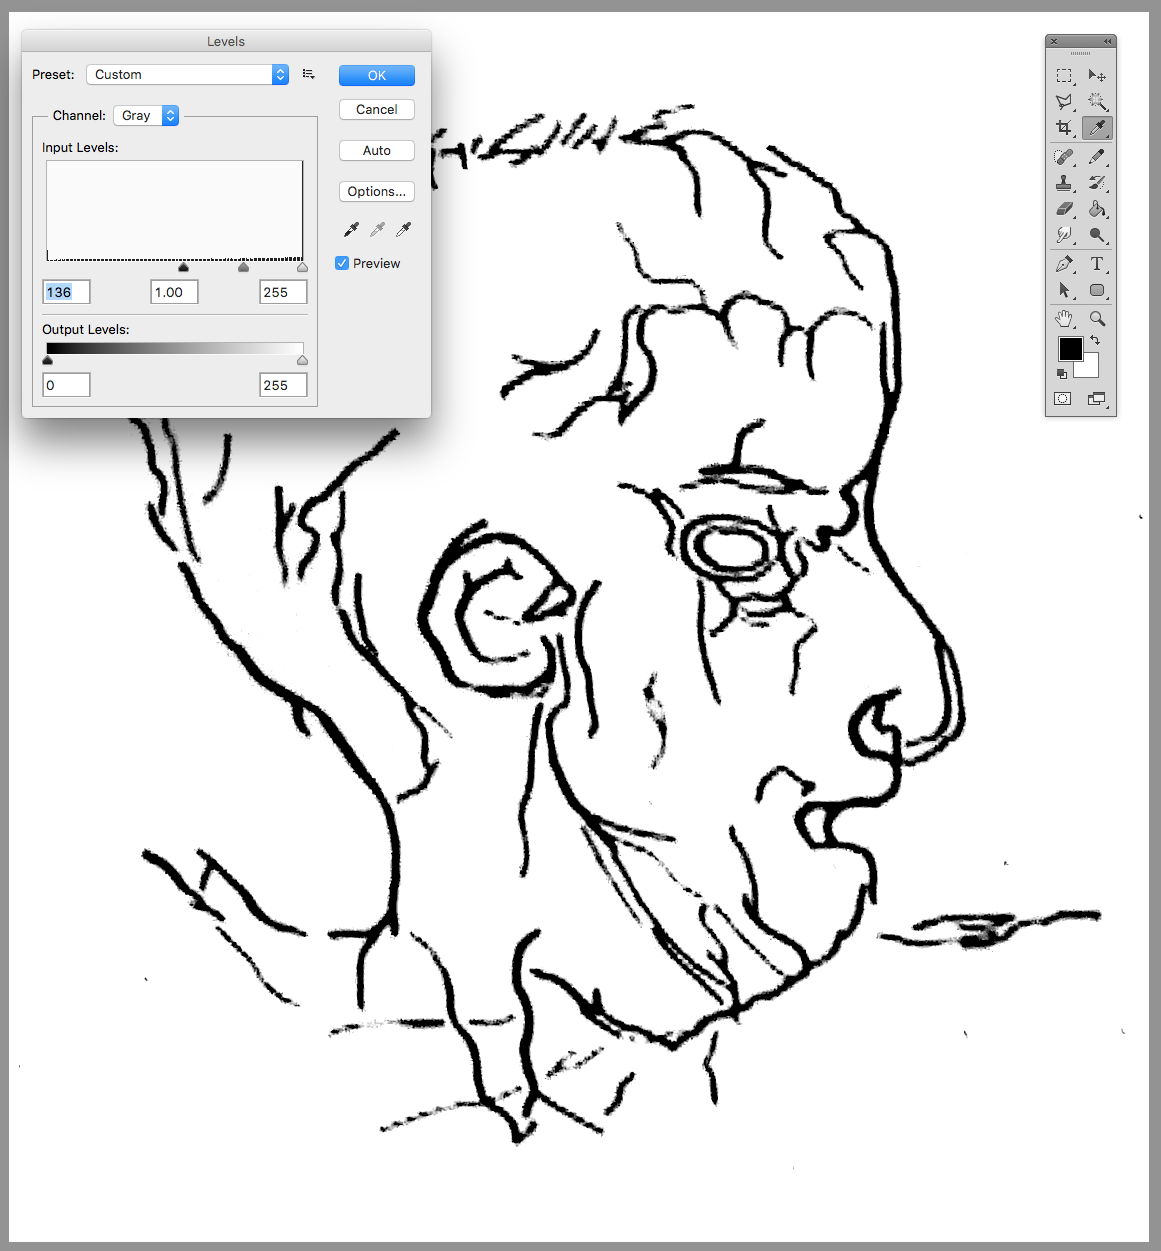
Move the arrows on the Levels graph again until the lines are blacker, and the whites whiter.
At this point the edges are still a bit fuzzy, but the lines themselves have improved a lot.
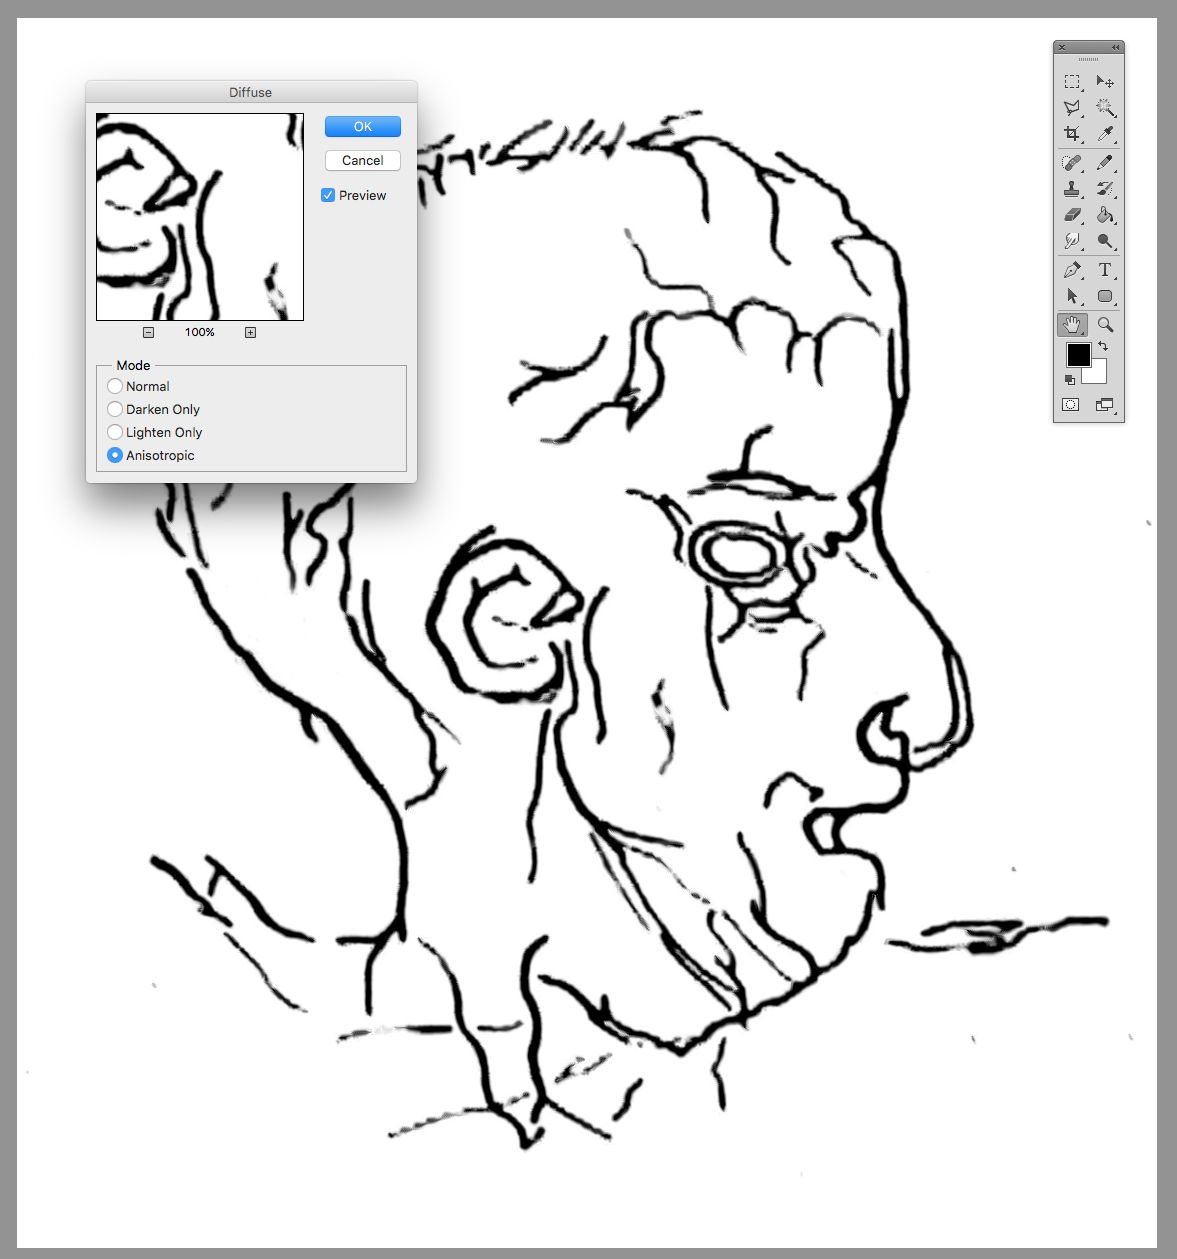
Go to Filter...Stylize...Diffuse...Anisotropic.
Press OK.
Remove any unwanted spots on the image with the eraser, and see if another go on the Anisotropic command helps the image. The lines tend to get thicker as you use this command.
Press OK.
The edges are much improved after this step.

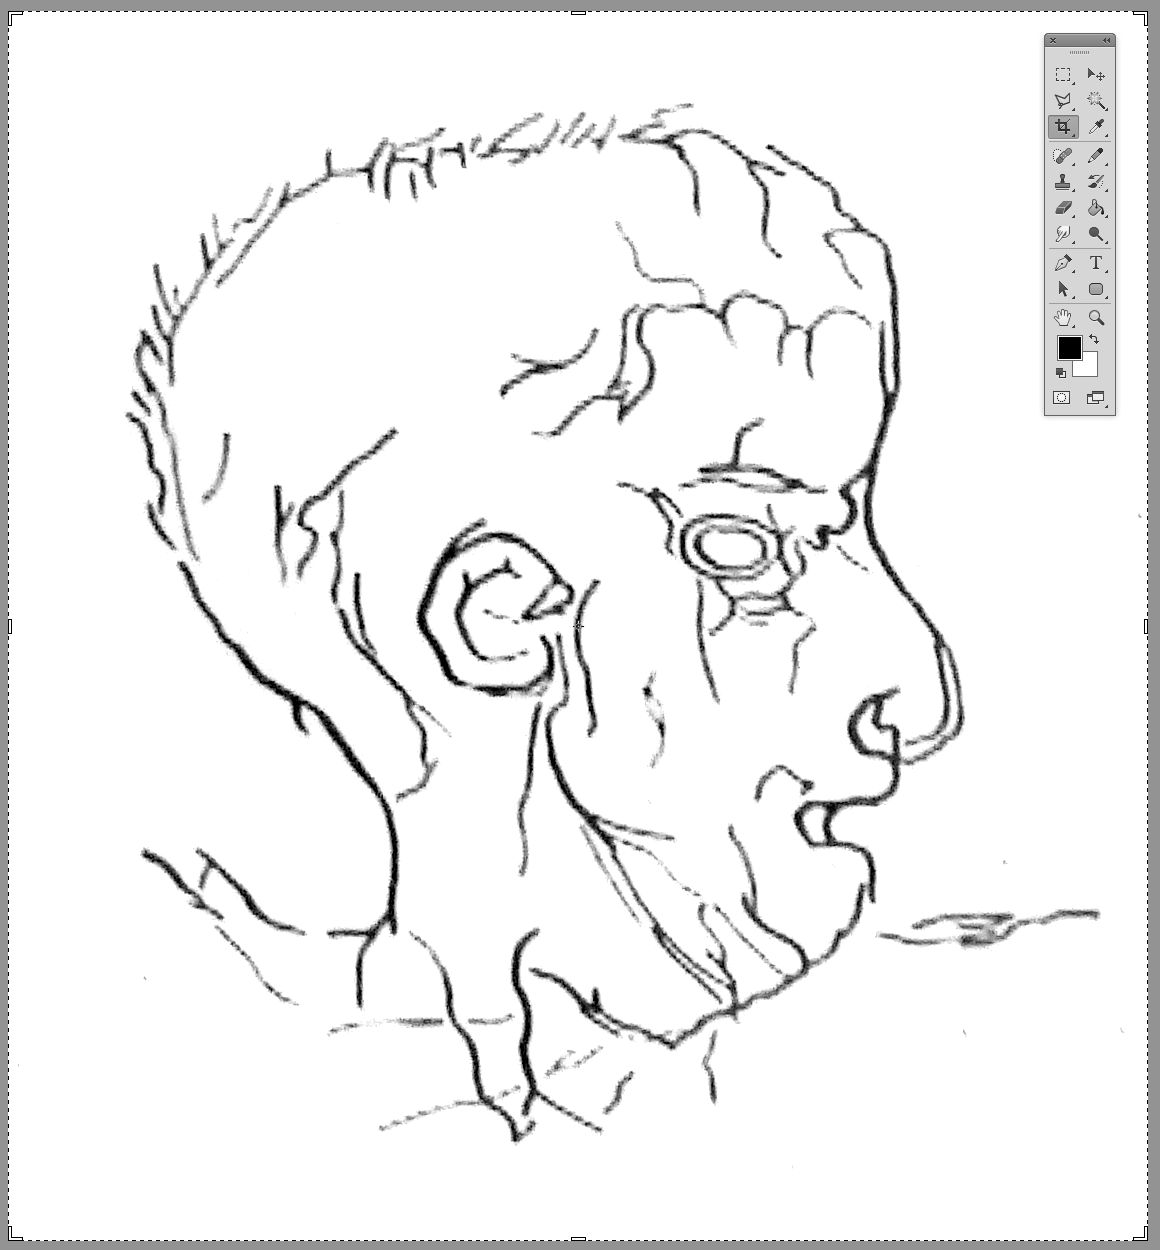
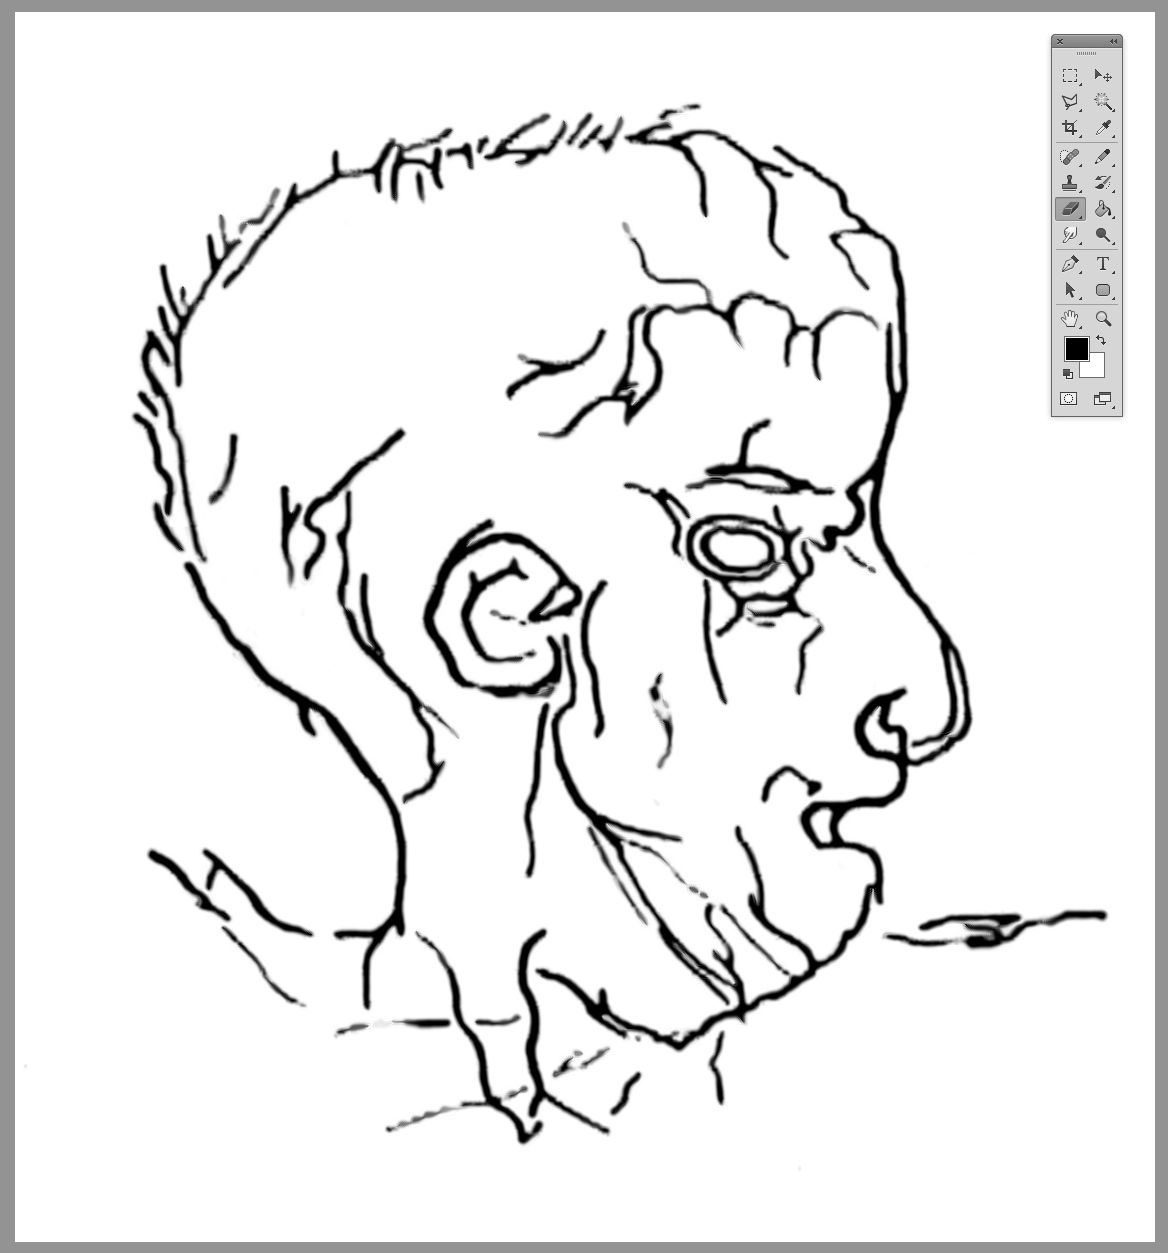
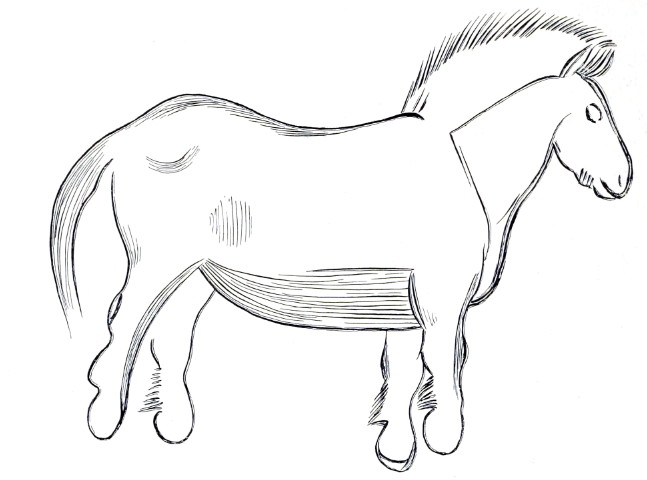
Smart sharpen is often a good way to improve the image at this stage.
From the dropdown menu choose Filter...Sharpen...Smart Sharpen.
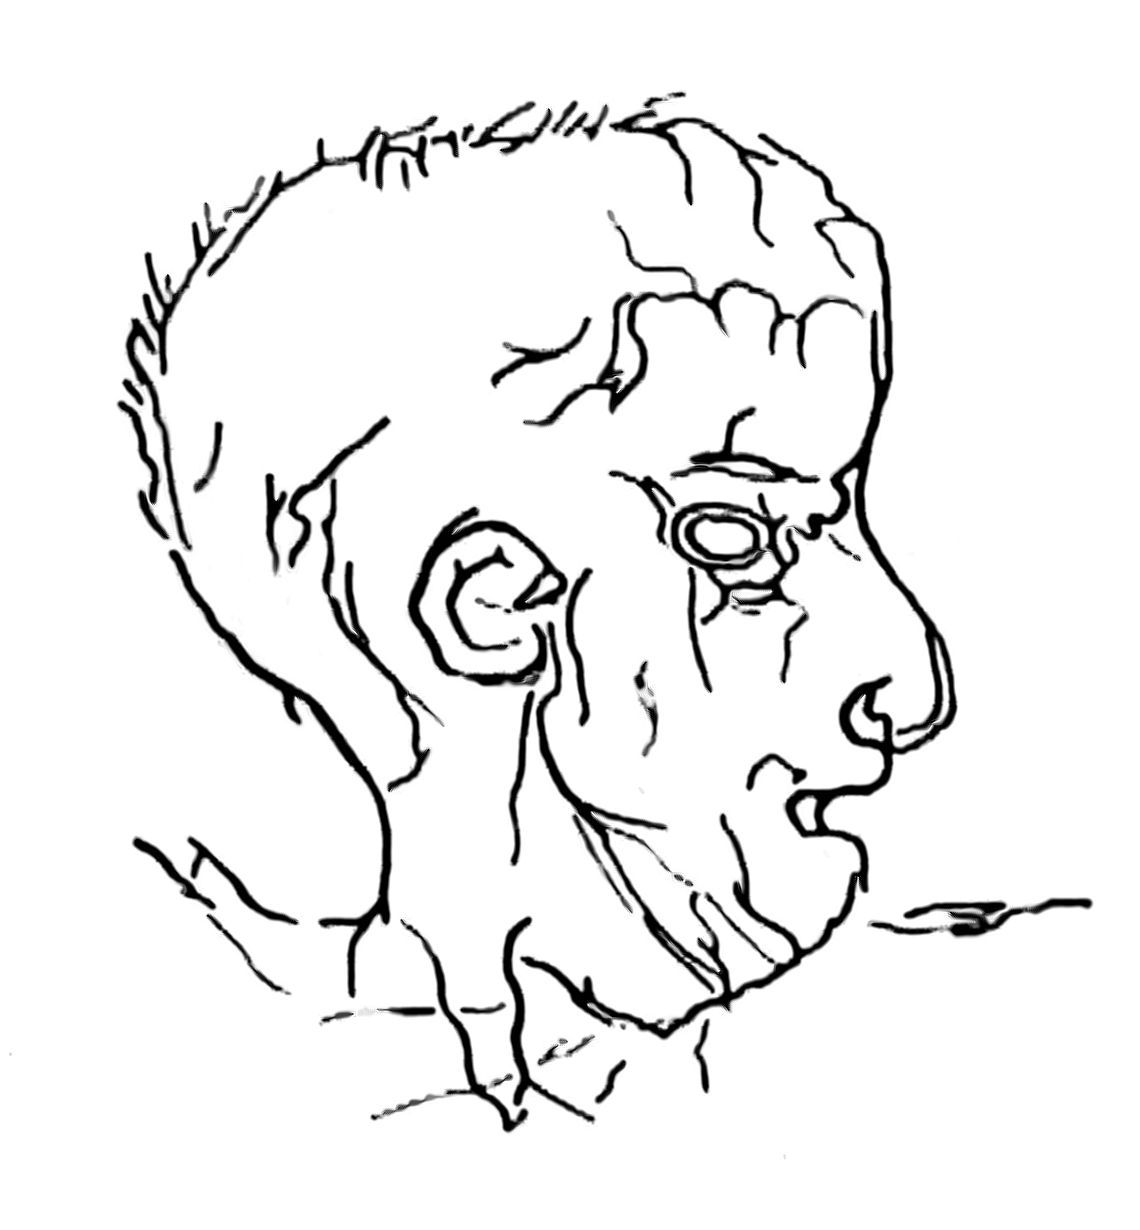
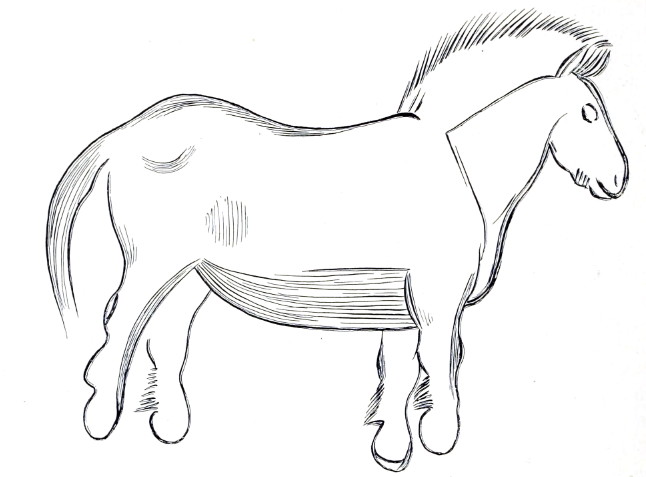
Et voilà!
You are done.
Cleaning up line drawings from a scan from an old book
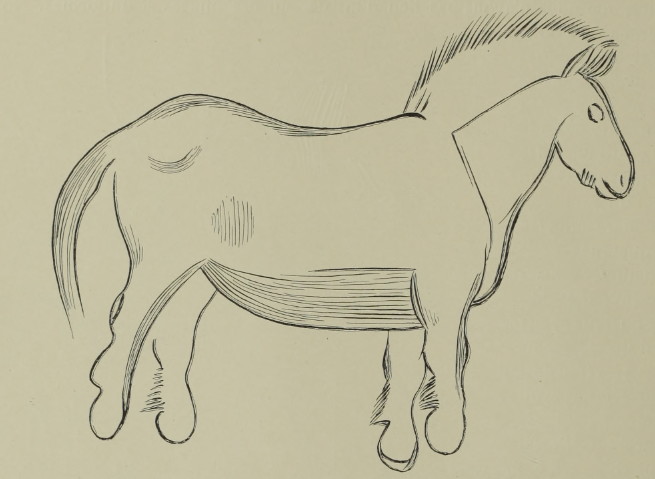
Old books are frequently yellowed, as shown here from Breuil et al. (1913).
Check that you only have one layer on the image. Go to the menubar and choose Layer > flatten image if necessary. If there is only one layer anyhow, the 'flatten image' option will be greyed out, so you are good to go.
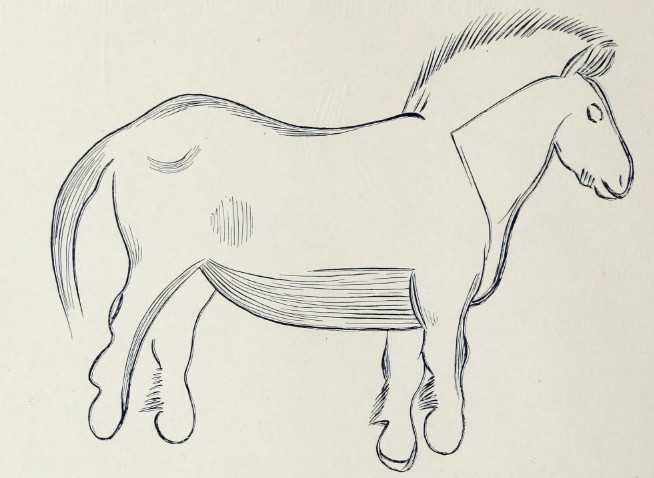
This is the first step, to use image > auto tone. Check if the image is improved, if not, undo.
Next, use image > auto contrast, then image > auto color. Check if the image is improved, if not, undo.

Next, use image > adjustments > curves... > auto. Check if the image is improved, if not, undo.
Next, use image > adjustments > curves... and choose the black eyedropper beneath the graph. Use the black eyedropper to click on a part of the image that you want to be black. This usually gives only a minor improvement in this sort of image.
In other images, in particular some photographs, the improvement can be great.
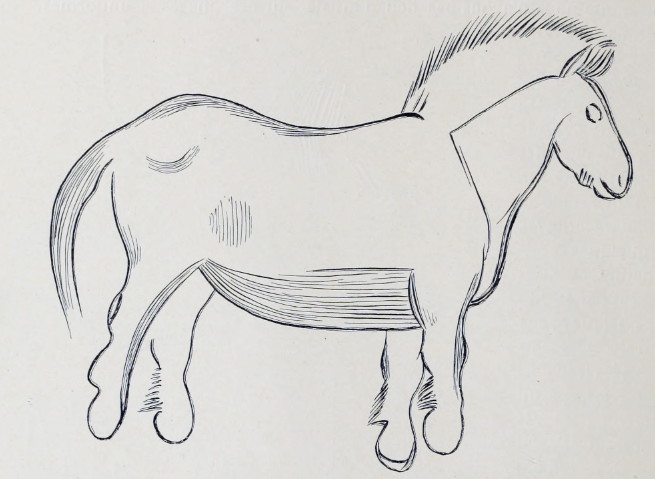
Next, use image > adjustments > curves... and choose the white eyedropper beneath the graph. Use the white eyedropper to click on a part of the image that you want to be white. Save, and repeat as often as necessary. Sometimes you need to do this three or four times.
This usually gives a major improvement in this sort of image.
In other images, in particular some photographs, the improvement can be minimal, or in fact detrimental.
Next, use the spot healing brush tool to get rid of the inevitable smudges from a scan of an old book. You can also use the lasso tool, (I use the polygonal lasso tool, I find it is easier to use) with feather set to zero and 'anti-alias' ticked, both of these are in the toolbar at the top.
The lasso tool gives much more control than the spot healing brush tool, and you can get a lot closer to the image without getting unwanted smudges, which often happens with the healing brush tool, which is more suited to smudges out in the main white area. Complete the lasso selection, press delete, and choose 'content aware', mode 'normal', and 'opacity' 100%, and click 'OK'. Then get rid of the selection by pressing 'command D' on the Mac, or 'control D' on a PC.

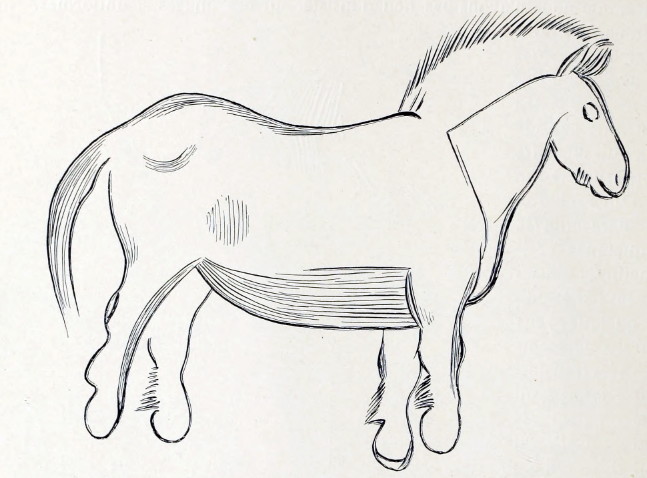
The image may well have lines that are a bit pixellated or are too light. Increase the size of the image by 200%, then from the top menu bar, choose filter > stylize > diffuse > anisotropic. This 'fattens up' the lines.
Then choose filter > sharpen > smart sharpen and tick the options for:
Preview
Basic
Settings: Default
Amount: 100%
Radius 1.0 px
Remove: Guassian Blur
Click OK.
Then decrease the size of the image by 50%, back to its original size. The improvement may be small, but it is usually noticeable at full 100% magnification.
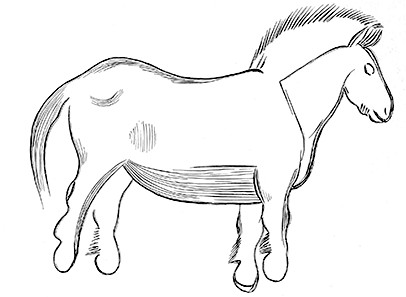
To create a thumbnail, set the image to the size you want, perhaps 300 x 400 pixels or whatever. When you do this, often the lines will look a bit greyed out or too thin.
To blacken and thicken them a little, go to Image > Adjustments > Levels... and drag the little triangle on the right under the 'Input Levels' graph, from zero to 10, 20, 30 or whatever, until you get the effect you want, then drag the little triangle on the left to the left under the 'Input Levels' graph, from zero to 10, 20, 30 or whatever, until you get the effect you want.
Click OK.
References
- Breuil, H., Obermaier, H., Alcalde Del Rio, H., 1913: La Pasiega à Puente-Viesgo (Santander) (Espagne), Imprimerie Artistique Vve A. Chêne, 1913